by Camden S.
One thing that everyone needs when making a 3D printed model is 3D modeling software. No matter if you are new to the hobby, or have some experience, a program for creating objects is a crucial tool. This article is about software specifically for 3D printing, yet can be used in a variety of applications, and this will be discussed in a bit more detail later on. But, what 3D modeling software should you use?
Tinkercad:
Tinkercad is one the easiest modeling software to learn due to its simple nature. It’s web-based, with a low learning curve, making it perfect for beginners. In Tinkercad, you use shapes to create complicated objects piece by piece by grouping them together, then cutting a hole out from the overlapping parts, like a cookie cutter. Tinkercad is primarily oriented towards younger users, but anyone can use it, especially when starting out.
Fusion:
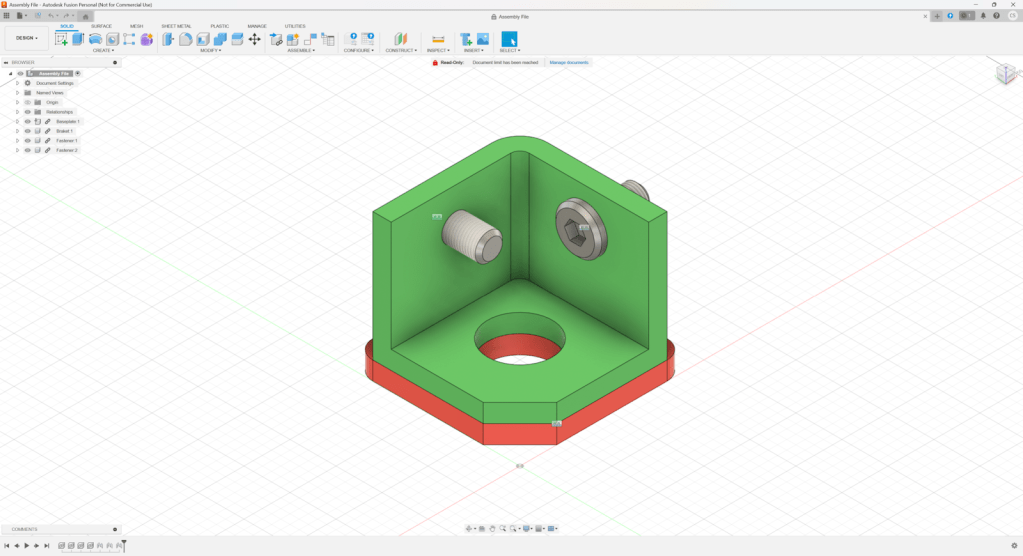
Fusion can be seen as an older sibling to Tinkercad and is free for hobby use. It uses dimensions, which define how big each part of your object will end up, and how it’s positioned in relation to other parts. This allows for easy modification of the project later on, and to have a history of past edits that you can get back to for editing. Fusion is used by hobbyists, as well as professionals in 3D printing, and the manufacturing of many products. This software has a higher learning curve than Tinkercad; however, it’s worth the work for people who want a more powerful program.
Blender:
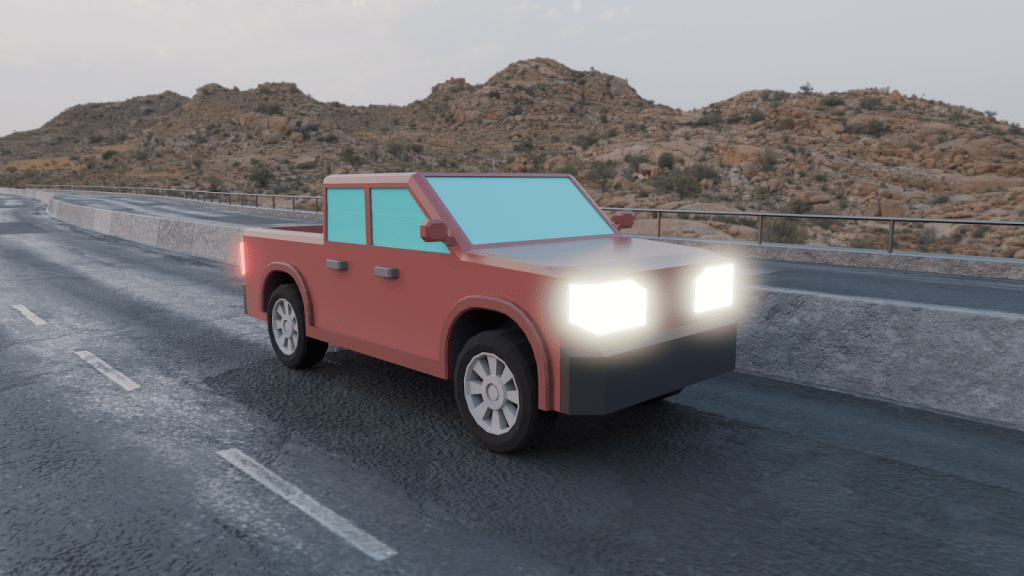
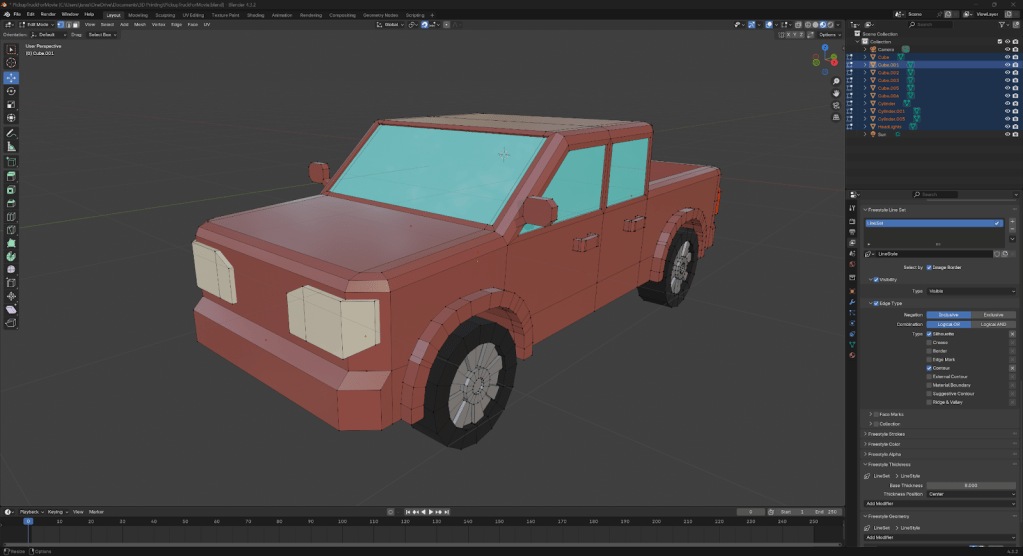
Blender is open source, and free to use for everyone. It uses individual points in space called vertices, with lines connecting those vertices, called edges, which you can connect to create faces. Blender is the most versatile software described in this article, and can be used for anything from modeling to animation, and even making full movies. It is able to create objects that wouldn’t be possible in the other two. For example, realistic plants and animals, or basically any organic shapes can be designed with this software. But with that comes a caveat: Blender has a very high learning curve, so the ability to use it to its full potential may take a lot of time and effort. It’s a very powerful tool, but with great power comes great responsibility.
Here are a few examples as to how each of these fundamentally work. (These are not full tutorials, so every detail won’t be included, but it should give you a good idea of how the software works.) So, let’s say you want to make a cube with a square hole on the top:
In Tinkercad you would create two cubes one bigger than the other. Take the small cube and put it on the top of the big cube half of it inside. Then select the type of the small cube as “Hole”. Lastly, group both together, this will cut the part of the small cube into the big cube.
In Fusion, start by creating a sketch on the floor plane, then create a 2-point rectangle on the sketch putting in how big each side will be. Then, finish the sketch and extrude it up and write in how tall you want it to be. Then create a sketch of the top of the cube and extrude it down and tell it how deep you want to hole.
In Blender, begin with adding a cube. Next enter edit mode and select the top face and inset it. Then extrude down.
Each software is unique and offers different tools, so I recommend trying each one to see what best suits your preferences. Happy printing!
